|
|
Post by spudafett on Jun 14, 2010 21:07:14 GMT -5
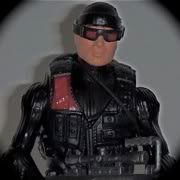
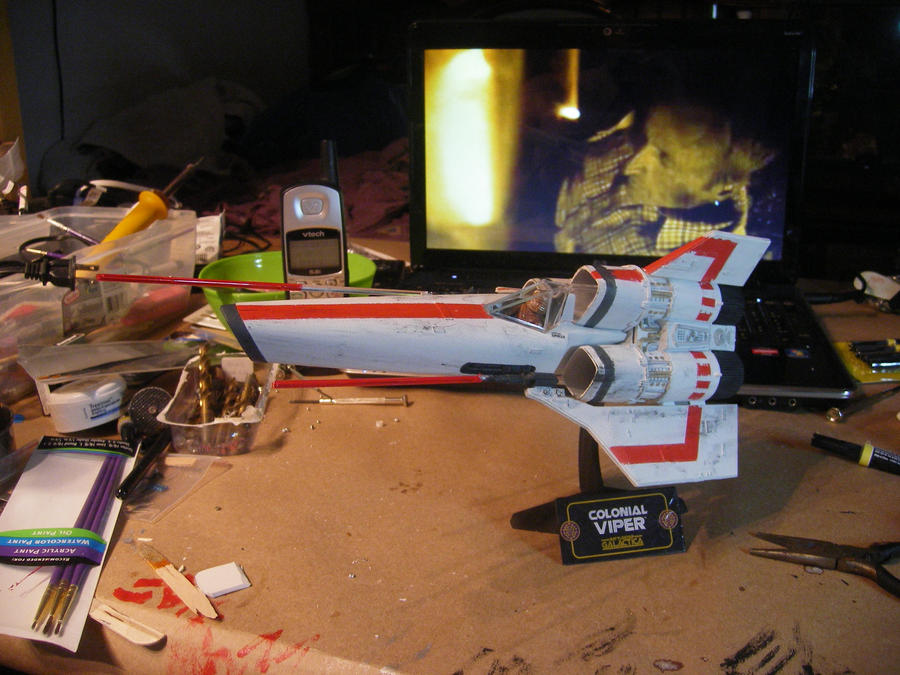
This is a project I've started for father's day for my dad. He had a vintage battlestar galactica cylon raider from his younger years that had been passed down to me. it's in realy good shape considering and it's been somthing i've wanted to do something with for years. so I bought a revel 30th aniversary BSG viper to do a 2 piece dio piece for his sci-fi bookshelf... here is his original cylon: 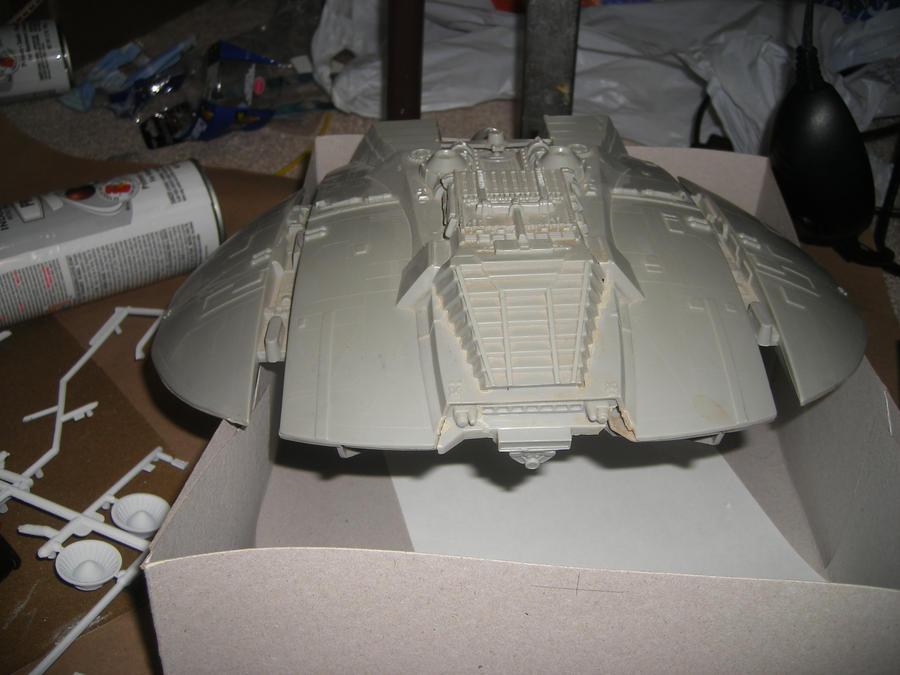  and here is the new model of the viper, i've primed the entire set with white primer and then friction fit it together to airbrush the stripes. that is as far as I've gotten on this one. I plan on eventually adding lights to this model as well.     |
|
|
|
Post by spudafett on Jun 14, 2010 21:25:23 GMT -5
well shit... the paint bled under the tape. I was afraid this would happen. I'm going to tape off the stripes and repaint the rest with the same white, I hope it covers the overbleed areas enough so they don't show through...  |
|
|
|
Post by spudafett on Jun 15, 2010 7:46:07 GMT -5
fixed the bleed over: 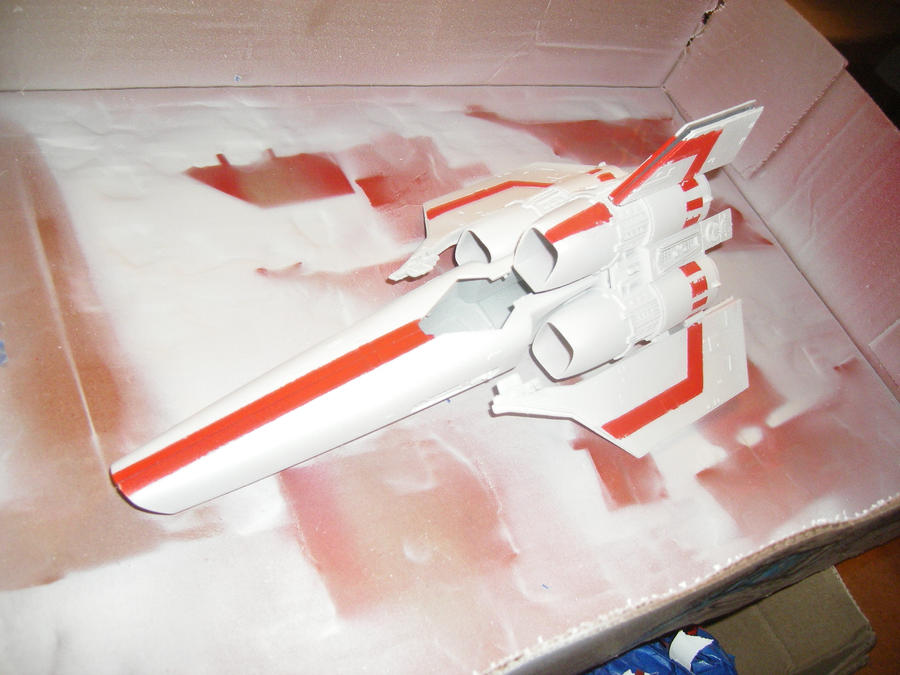 |
|
|
|
Post by SGCaper on Jun 15, 2010 10:07:08 GMT -5
Looking good.
|
|
|
|
Post by daremo on Jun 15, 2010 11:25:38 GMT -5
Nice!
|
|
|
|
Post by spudafett on Jun 15, 2010 15:21:58 GMT -5
thanks guys. I'm starting work on the LED circuits next. I'm going to try and figure out how I'm going to do the raider's electronics before I try and paint it since I think I'll be cutting it open and then having to rebuild some of it. it's a realy old model and I thought I'd be able to just crack the shell open and get inside it but the glue is at least 25-30 years old and has definately fused the model together...
hopefully I don't destroy the model while I'm working on it. wouldn't that be irony, the model survives relatively unscathed for almost 30 years and then when I try and refurbish it I destroy it..... let's hope not.
|
|
|
|
Post by Xhairs on Jun 15, 2010 17:44:24 GMT -5
very cool.
|
|
|
|
Post by spudafett on Jun 15, 2010 20:11:18 GMT -5
just a fun factoid here... I cracked open the cylon raider and it has a copyright stamp on the inside that says "1978 universal city studios inc"
|
|
|
|
Post by spudafett on Jun 17, 2010 13:54:24 GMT -5
made alot of progress today and yesterday. mostly on the raider. bottom of the model pre-modification 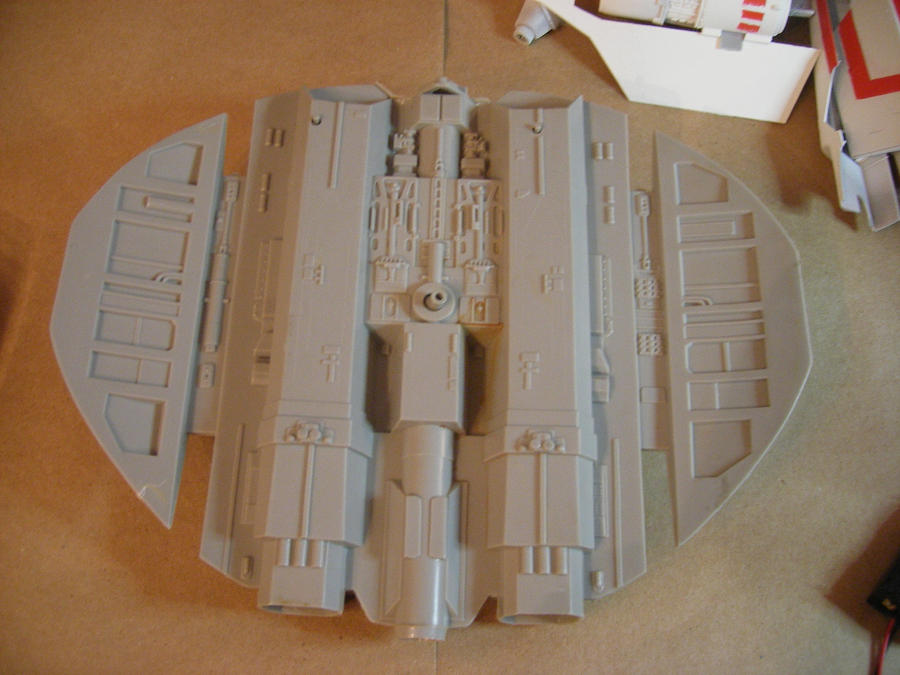 I needed to cut open the bottom of the model to insert the battery pack and LED lights. I couldn't use my dremel on the model because it would make to large of a cut and I'd have a hard time rebuilding the model and disguising my cuts. I decided to try something new and use a heated exacto knife to cut through the plastic where I could pop it open... 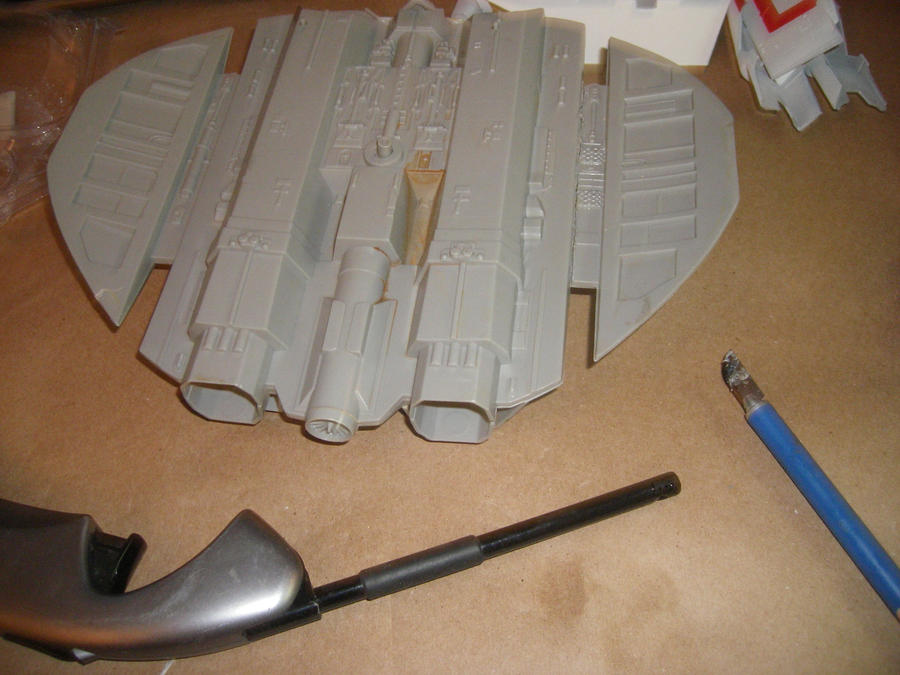 as you can see the cut didn't come out quite as cleanly as I'd hoped but it did make a much smaller cut than the dremel did, later when I cleaned it up it's hardly noticable. 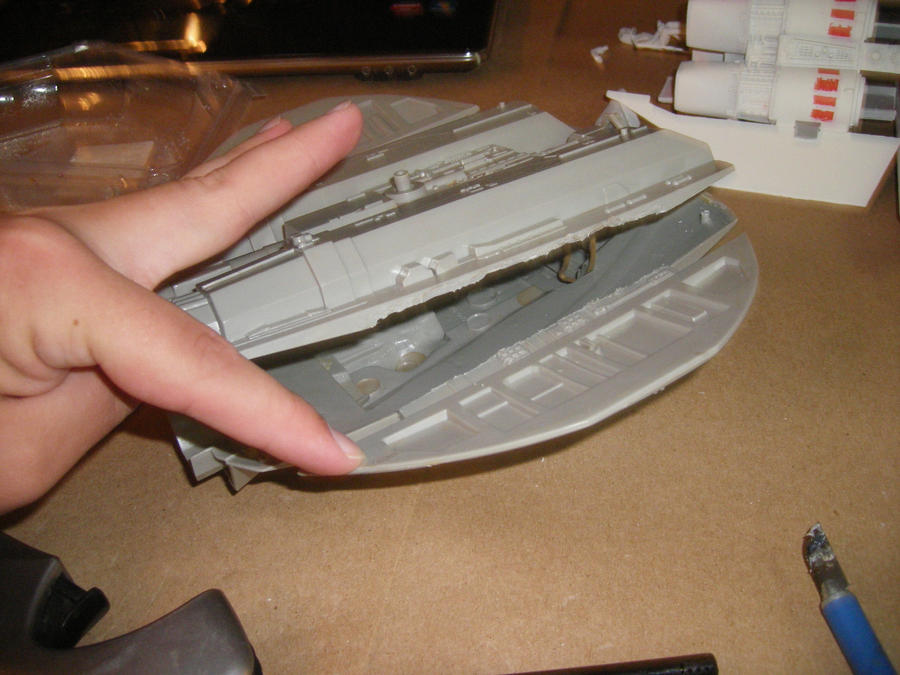 here is both sections taken apart. 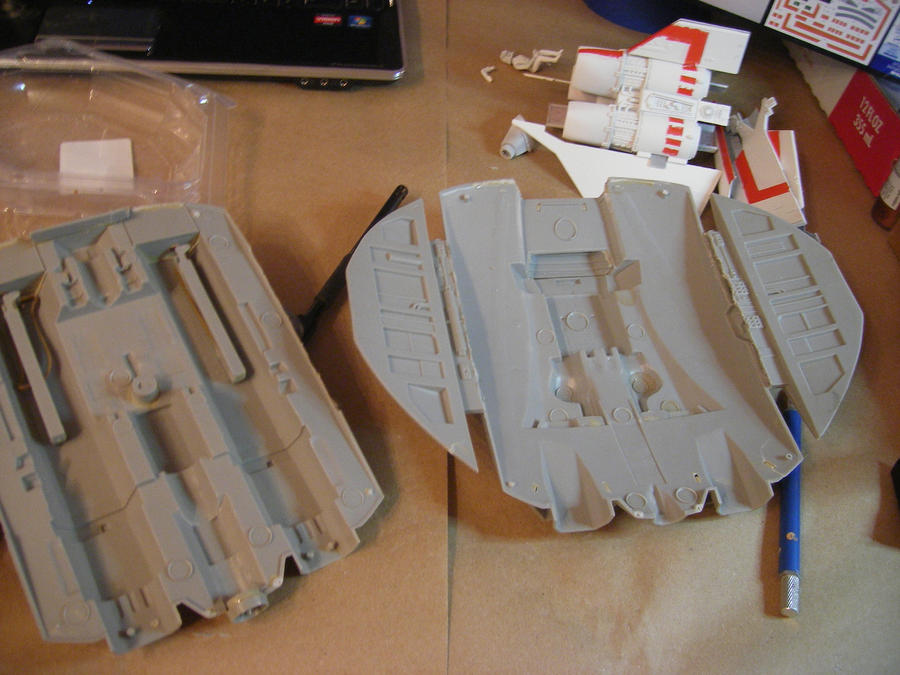 I then installed two pieces of styrene to hold the LED lights for the engine effects as well as planned the placement of the battery pack. 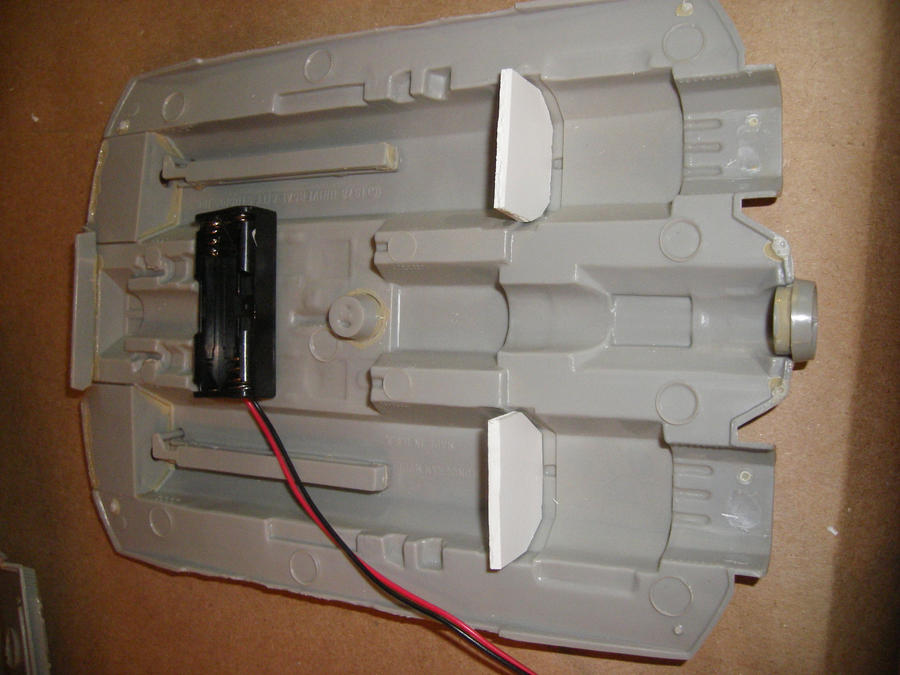 copyright stamp: 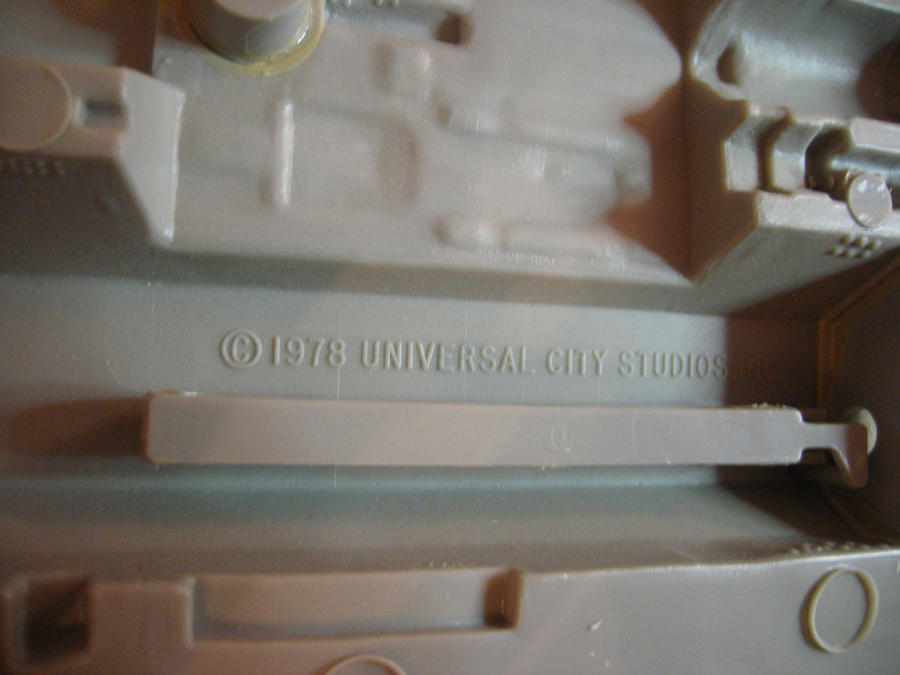 My dad's model never had any weapons mounted on the gun posts, IDK if the original kit did not have these or if they had broken off long ago... i believe they never even came in the original kit. I wanted to fix that so I found two identical star wars figure weapons that looked good and cut off the stock and handle and glued them to the model's mounts. 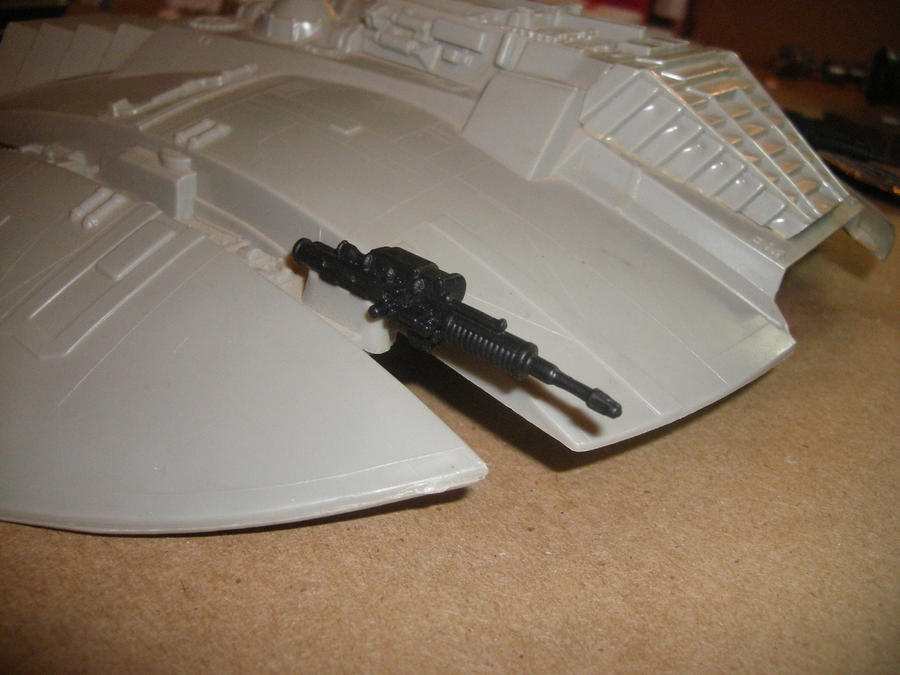 I used a can of flat black spray paint as my basecoat for this model: 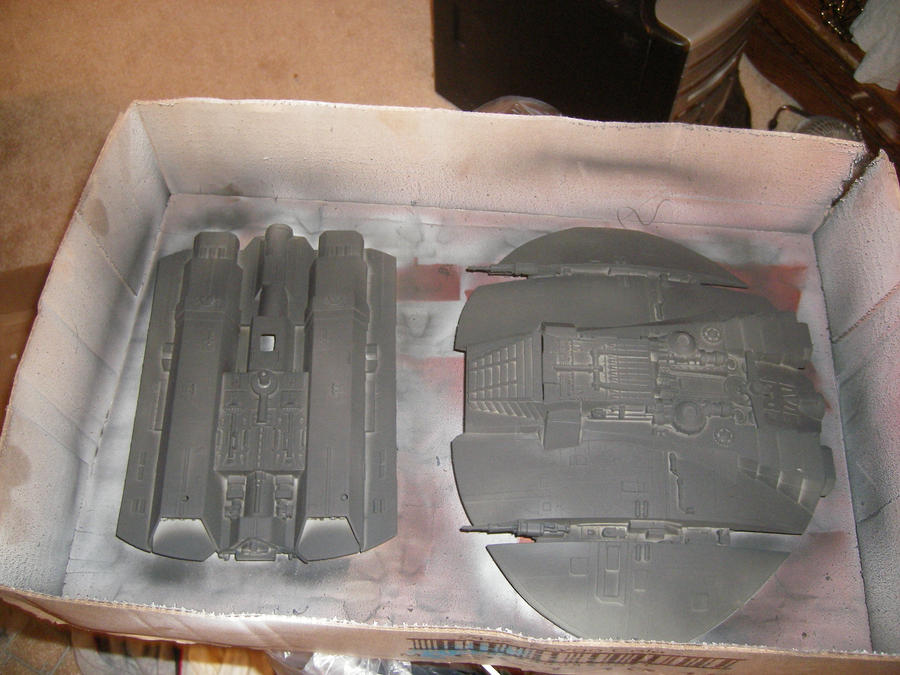 I sprayed the inside as well to prevent any LED light bleedthrough or wash... I then masked off the wing stripes, engines and cockpit with masking tape and used my testors spray kit to spray on a layer of light grey. This is the result after the masking tape was removed: 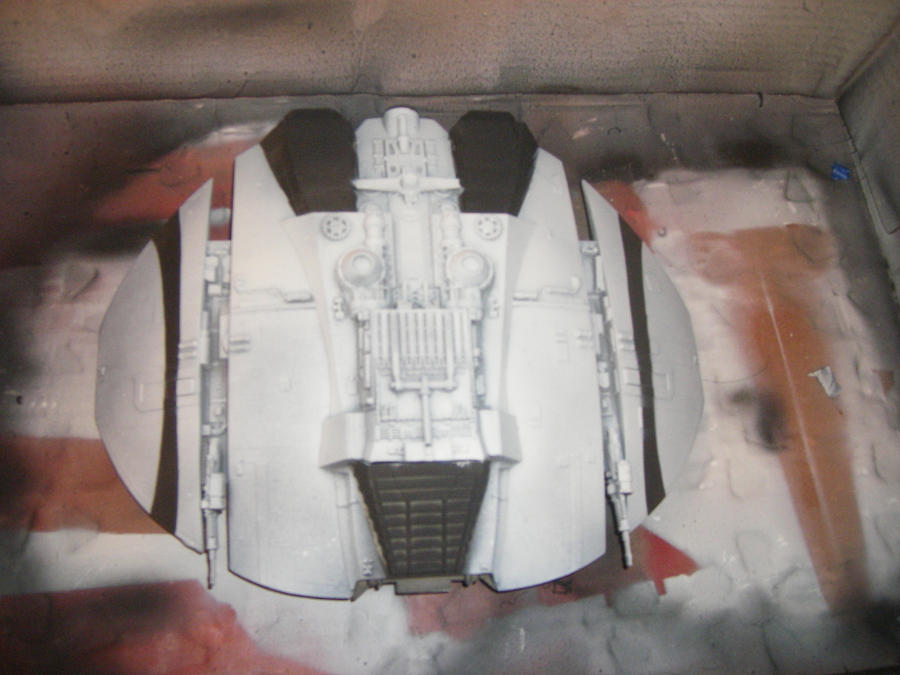 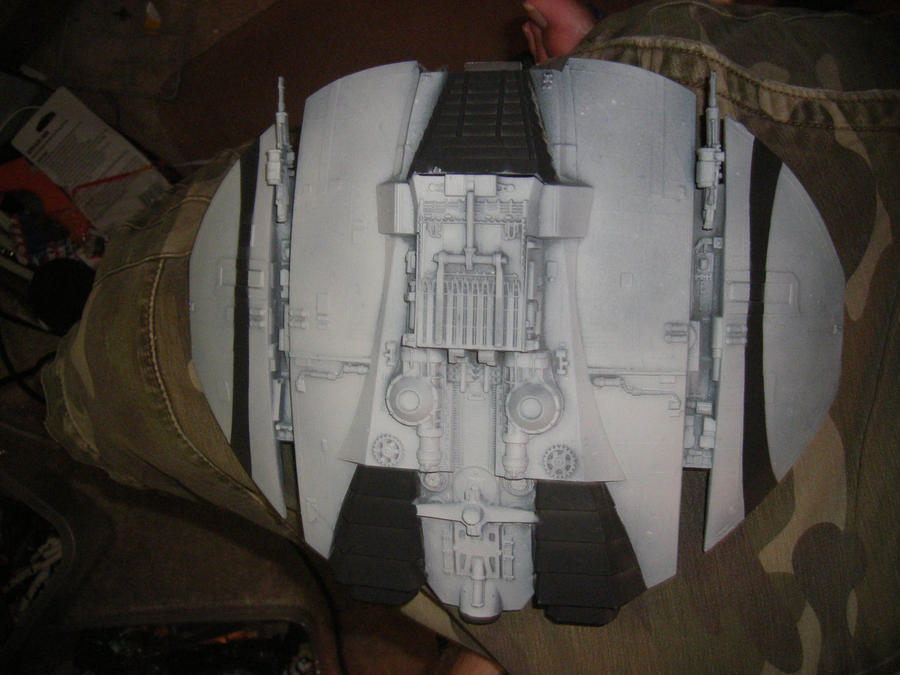 I've also finished the LED lighting and instalation so I'll get pics of that up soon. I'm also going to do a little more detailing to the outside of the model and build a display stand. I'm also needing to find some decal sheets online to try and print off for a few of the smaller details. |
|
|
|
Post by spudafett on Jun 17, 2010 14:08:13 GMT -5
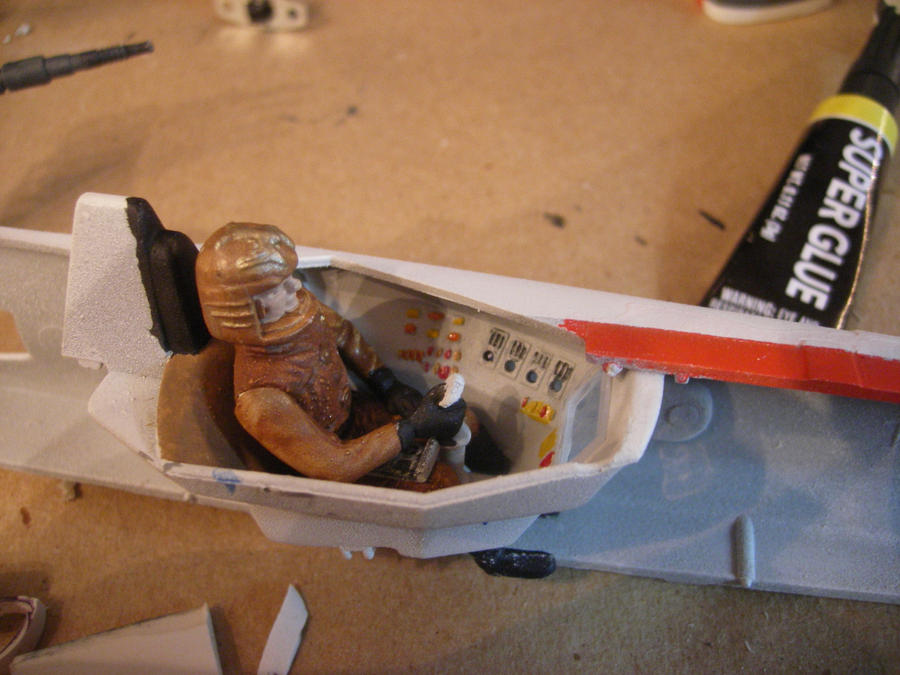
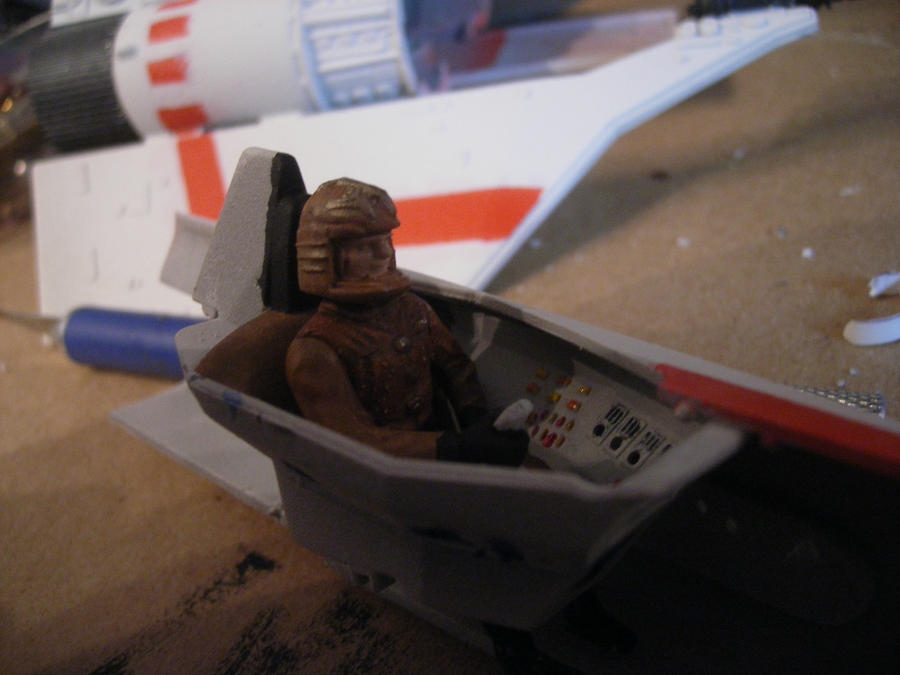
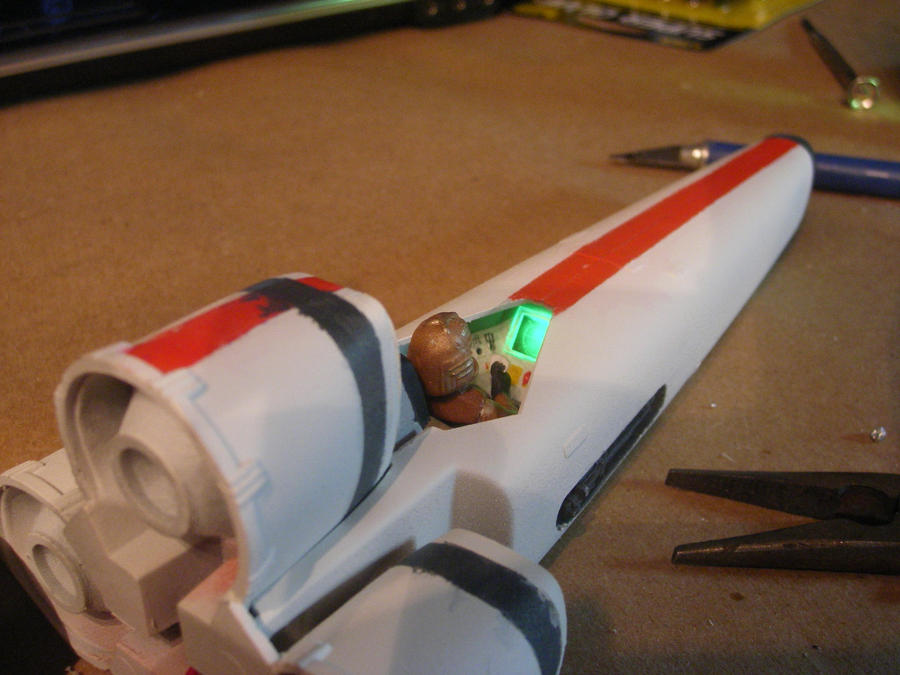
got the basic preliminary paintwork done on the Viper. all that is left is installing it's LED system and then weathering and detailing the outside. 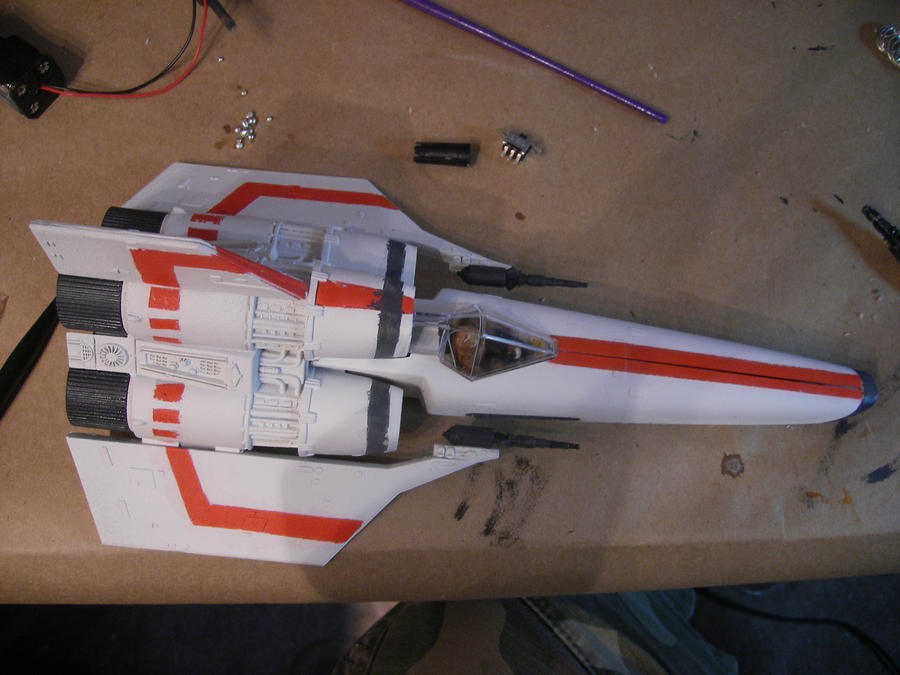 |
|
|
|
Post by blaster_e11 on Jun 17, 2010 15:02:40 GMT -5
god bless weird POTF2 SW guns lol
good job sir
|
|
|
|
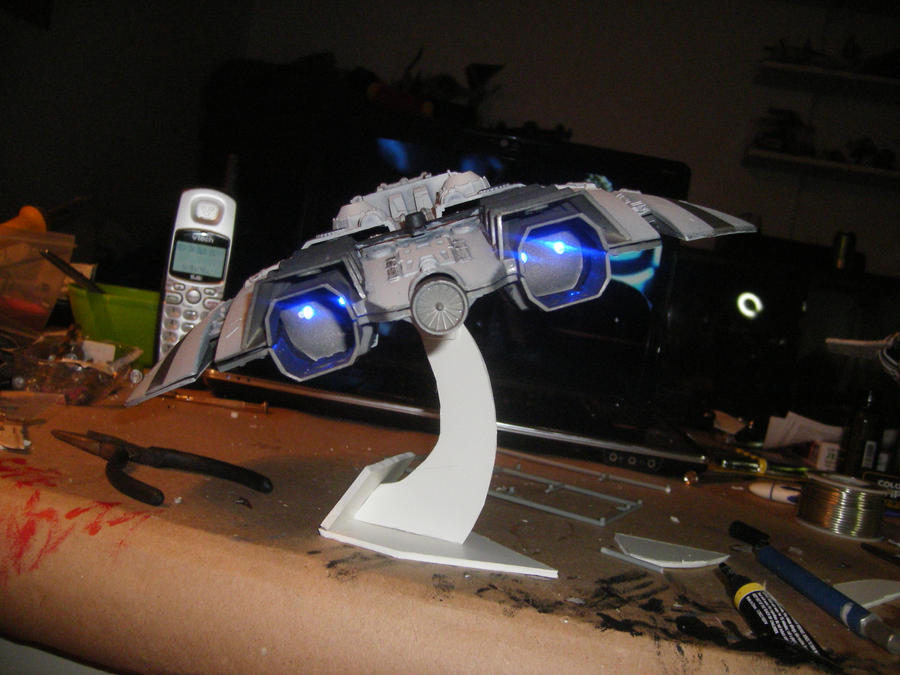
Post by spudafett on Jun 17, 2010 19:05:20 GMT -5
god bless weird POTF2 SW guns lol good job sir lol amen to that. Thanks, I'm no where near finished though. Got the LED's and battery installed on the raider. I'm a little disapointed though, there is a slight crack in the places where the two halves join back together, and because I want to make the batteries replacable I can't glue down the parts. I installed mounting points for two screws but this only solved the problem of both halves randomly falling apart and didn't pull it together enough to remove the small crack. I'm willing to deal with it though since from a distance it's not realy noticable... |
|
|
|
Post by spudafett on Jun 19, 2010 15:06:16 GMT -5
|
|
|
|
Post by spudafett on Jun 19, 2010 16:56:41 GMT -5
|
|